Kubernetes on Windows: how to set up
MicroK8s is a solution for teams wanting to deploy Kubernetes on Windows for developing and testing purposes.
MicroK8s, a Linux snap, is Ubuntu’s lightweight, CNCF-certified local distribution of Kubernetes that installs in 30 seconds or less. It runs all Kubernetes services natively on Ubuntu, or any operating system (OS) Linux supports snaps, and deploys a single cluster on a local PC. This gives teams flexibility to test microservices on a small scale, develop and train machine learning models locally, or embed upgradeable Kubernetes in IoT devices for easy evolution.
While MicroK8s automates the typical functions of Kubernetes locally, such as scheduling, scaling and debugging, it also adds another layer of reliability because it provides the latest Kubernetes for development. The latest upstream version of Kubernetes is always available on Ubuntu within one week of official release.
Kubernetes on Windows works by setting up a Kubernetes cluster in an Ubuntu VM.
With this is mind, MicroK8s and Kubernetes both need a Linux kernel to operate and require an Ubuntu VM, which can be created using Multipass. Multipass is the tool that instantly launches and manages Ubuntu VMs on Windows, MacOS and Linux. The VM provides another layer of security, isolating the Kubernetes instance from the outside world.
What follows here are the steps to set up Multipass, interact with MicroK8s on the VM and how to add-on DNS to view the MicroK8s dashboard.
Note that there are a few requirements for running Multipass on Windows 10 Enterprise or Pro with hyper-v enabled on a trusted network as discussed here.
Set up a VM for Windows using Multipass
To start a VM with MicroK8s run:
multipass launch --name microk8s-vm --mem 4G --disk 40G

multipass exec microk8s-vm -- sudo snap install microk8s --classic

multipass exec microk8s-vm -- sudo iptables -P FORWARD ACCEPT
Ensure sufficient resources are available to host these deployments. Below we’ve created a VM named microk8s-vm and given it 4GB of RAM and 40GB of disk.
Our VM has an IP that can be checked with the following: (Take note of this IP since our services will become available here).
multipass list

Name           State     IPv4             Release

microk8s-vm    RUNNING 10.72.145.216    Ubuntu 18.04 LTS
Interact with MicroK8s on the VM
There are three ways to interact with Multipass in a VM.
- Using a Multipass shell prompt (command line) by running:
multipass shell microk8s-vm
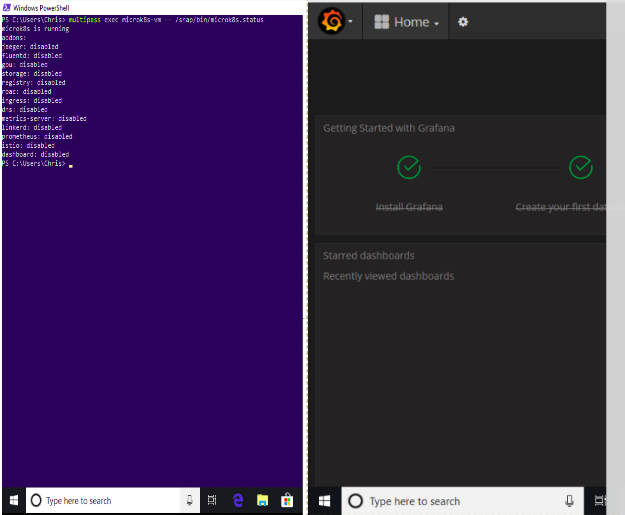
- Using multipass exec to execute a command without a shell prompt by inputting:
multipass exec microk8s-vm -- /snap/bin/microk8s.status
- Using the Kubernetes API server running in the VM.. Here one would use MicroK8s kubeconfig file with a local installation of kubectl to access the in-VM-kubernetes. Do this by running:
multipass exec microk8s-vm -- /snap/bin/microk8s.config > kubeconfig
Next install kubectl on the host machine and then use the kubeconfig:
kubectl --kubeconfig=kubeconfig get all --all-namespaces

NAMESPACE NAME TYPE  CLUSTER-IP  EXTERNAL-IP  PORT(S)   AGE
default  service/kubernetes   ClusterIP   10.152.183.1   <none>     443/TCP   3m12s
Accessing in-VM Multipass services - enabling MicroK8s add-ons
A basic MicroK8s add-on to set up is the Grafana dashboard. Below we show one way of accessing Grafana to monitor and analyse a MicroK8s instance. To do this execute:
multipass exec microk8s-vm -- /snap/bin/microk8s.enable dns dashboard
Enabling DNS
Applying manifest
service/kube-dns created
serviceaccount/kube-dns created
configmap/kube-dns created
deployment.extensions/kube-dns created
Restarting kubelet
DNS is enabled
Enabling dashboard
secret/kubernetes-dashboard-certs created
serviceaccount/kubernetes-dashboard created
deployment.apps/kubernetes-dashboard created
service/kubernetes-dashboard created
service/monitoring-grafana created
service/monitoring-influxdb created
service/heapster created
deployment.extensions/monitoring-influxdb-grafana-v4 created
serviceaccount/heapster created
configmap/heapster-config created
configmap/eventer-config created
deployment.extensions/heapster-v1.5.2 created
dashboard enabled
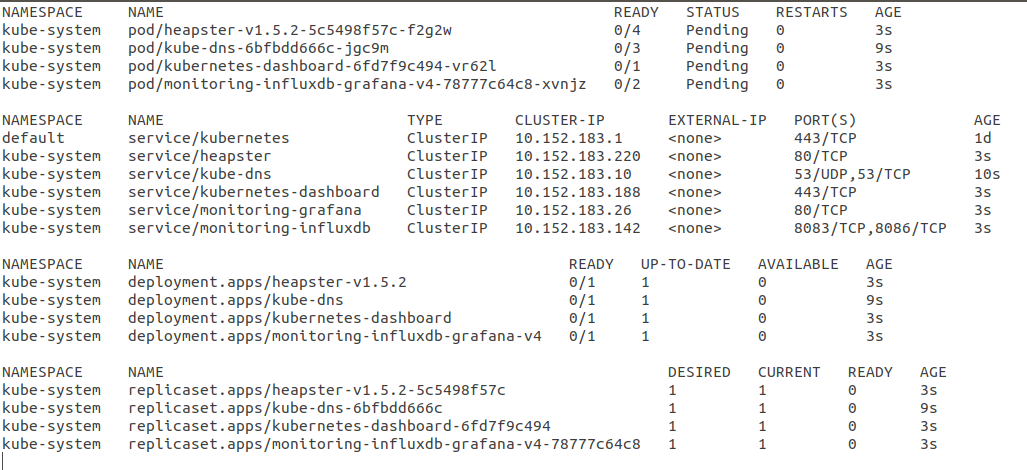
Next, check the deployment progress by running:
multipass exec microk8s-vm -- /snap/bin/microk8s.kubectl get all --all-namespaces
Which should return output similar to:
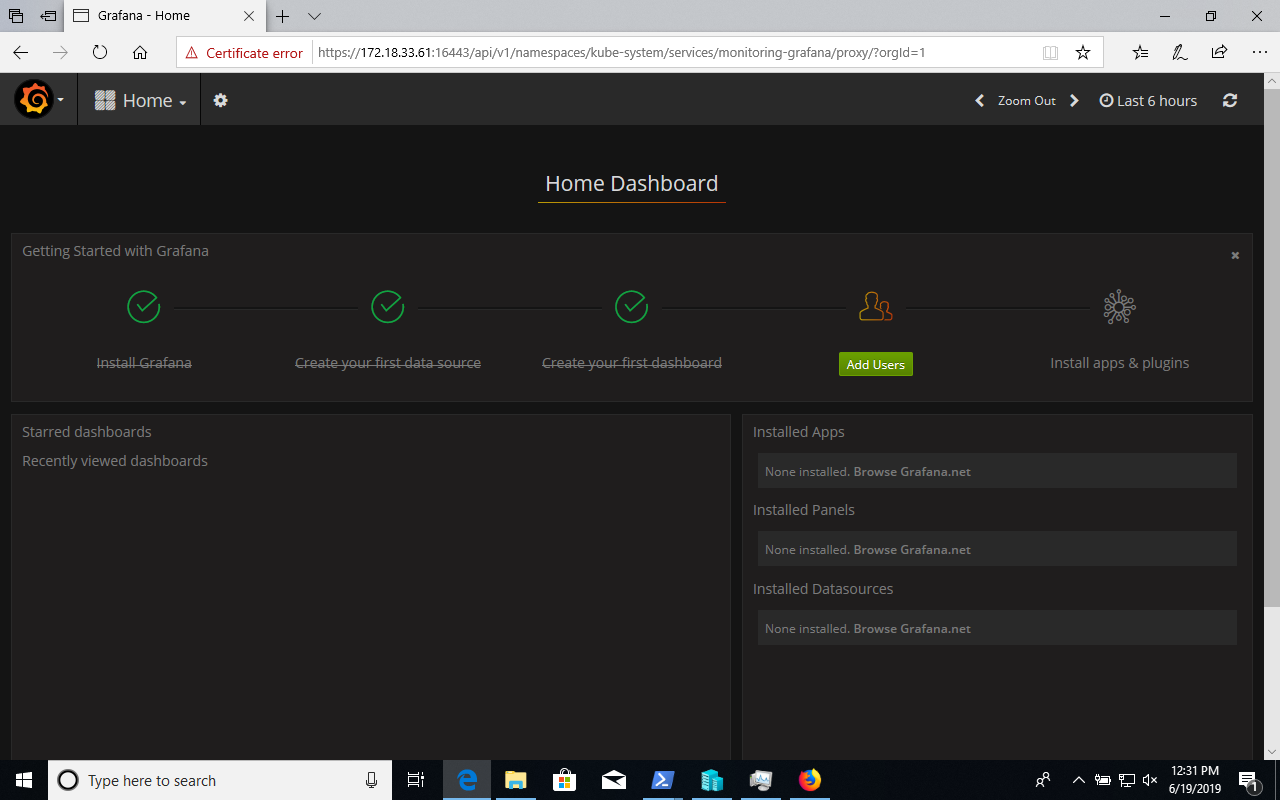
Once all services are running, access the dashboard. The image below shows the Grafana of our dashboard.
Kubernetes on Windows summary
MicroK8s gives teams the opportunity to test out their work before going public, automating the standard tasks of Kubernetes, while adding an extra layer of reliability.
Useful reading:
- Install a local Kubernetes with MicroK8s - tutorial
- Multipass on Windows
- For CTOs: the no-nonsense way to accelerate your business with containers
- How to integrate Ubuntu with Microsoft Active Directory
- Install single node and multi node Kubernetes
- Kubernetes on Mac: how to set up
The post Kubernetes on Windows: how to set up appeared first on Ubuntu Blog.